Pixels: Follow-Along Activity
Follow the instructions to create a very simple pixel PAC-MAN!

Pixel Art Examples
Original Mario
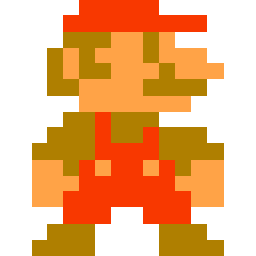
All art for video games was once hand-coded, pixel-by-pixel!
Panda
(animated: https://i.pinimg.com/originals/ab/dd/7d/abdd7da2f2fd574cb5b92f61b01d625d.gif)

Now, some developers copy this style for their own art
Cityscape
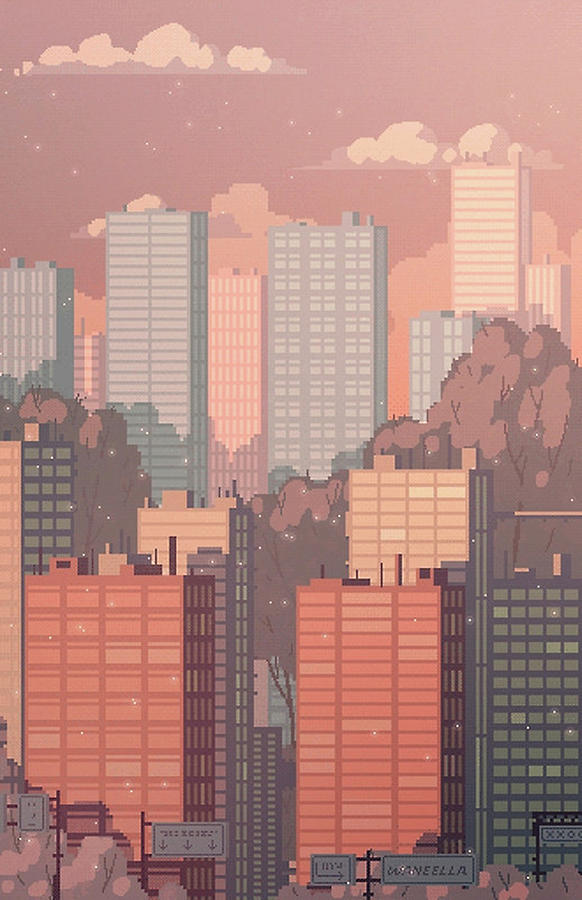
Pixel art can be used for almost anything!
Setup
Start by copying this starter project.
Starter Code
The code to start looks like this:
index.html
<html>
  <head>
    <link href="style.css" rel="stylesheet" type="text/css" />
  </head>
  <body>
    <div id="main">

    </div>
  </body>
</html>
style.css
#main {
  height: 100px;
  width: 100px;
  border: 2px solid orange;
}
Run the program to see how it looks! There should be a small orange square outline on the page. Notice that the #main selector is selecting the <div> with the id attribute of main, and that ruleset is doing the styling.
Make the following updates in the style.css file:
- Set the
heightto400 - Set the
widthto400 - Set the
bordercolor toblack
After updating, the CSS should look something like this:
#main {
    width: 400px;
    height: 400px;
    border: 2px solid black;
}
Rows and Columns for the Grid
The goal for the #main container <div> is for it to have a grid of 4x4 "pixel" squares. Doing some quick math, these "pixel" squares should actually be 100 pixels wide and 100 pixels tall (400/4=100). So there should be four row <div>s, and each one should have four cell <div>s!
- Open the index.html file for editing
- Within the
<div id="main">, create four child<div>elements- Each of these
<div>elements represents one row
- Each of these
- Add a
classattribute with a value ofhorizontalfor each "row"<div> - Within each of those child
<div>elements, create four grandchild<div>elements- Each of these
<div>elements represents one cell
- Each of these
- Add a
classattribute with a value ofcellfor each "cell"<div>
Note: Copy/Paste will make this much faster!
The full <div id="main"> in the index.html file should look something like this:
<div id="main">
    <div class="horizontal">
        <div class="cell"></div>
        <div class="cell"></div>
        <div class="cell"></div>
        <div class="cell"></div>
    </div>
    <div class="horizontal">
        <div class="cell"></div>
        <div class="cell"></div>
        <div class="cell"></div>
        <div class="cell"></div>
    </div>
    <div class="horizontal">
        <div class="cell"></div>
        <div class="cell"></div>
        <div class="cell"></div>
        <div class="cell"></div>
    </div>
    <div class="horizontal">
        <div class="cell"></div>
        <div class="cell"></div>
        <div class="cell"></div>
        <div class="cell"></div>
    </div>
</div>
Styling the Cells
Now that the HTML structure is there, it's time to style the grid with CSS!
- Open the style.css file for editing
- Under the existing contents, create a new ruleset for each cell
- Selector:
.cell - Curly brackets
- Selector:
- Set the
widthandheightproperties of each cell to100px - For testing purposes, set the
backgroundproperty toblue
The new ruleset in the style.css file should look something like this:
.cell {
    height: 100px;
    width: 100px;
    background: blue;
}
Aligning the Cells
Currently, each cell div will stack vertically. This is the default behavior for HTML div elements. Instead, the "cell" elements should display horizontally within each row. CSS Grid layout allows this style.
Resource: CSS Grid Layout
- Open the style.css file for editing
- Above the
.cellruleset, create a new ruleset for each row- Selector:
.horizontal - Curly brackets
- Selector:
- Set the
displayproperty of each row togrid- This tells the webpage that each row will have the grid layout
- Set the
grid-template-columnsproperty of each row to1fr 1fr 1fr 1fr- This will determine the number of columns in each row
- The 4
1frmean that there are 4 columns, each taking one fraction of the available width (for real)
- Remove the
widthfrom the.cellruleset as it is no longer necessary
The updated rulesets in the style.css file should look something like this:
.horizontal {
    display: grid;
    grid-template-columns: 1fr 1fr 1fr 1fr;
}

.cell {
    height: 100px;
    background: blue;
}
Now, the entire main container should be blue, because each cell is 100x100 pixels and they stack properly!
Filling Out the Grid with Colors
Now that each cell block is in the right place, it will be possible to set each color in the grid!
Remember, this is what PAC-MAN should look like on the 4x4 grid:
- Open the index.html file for editing
- Add a
classofblackto each black cell - Add a
classofyellowto each yellow cell- Note that the
divwill now have two classes:cellandyellow - Two classes can be set with a space between them:
class="cell yellow"
- Note that the
- Open the style.css file for editing
- Remove the blue
backgroundfrom the "cell" elements - Create a new ruleset for "black" cells
- Selector:
.black
- Selector:
- In the
.blackruleset, set the background color toblack - Create a new ruleset for "yellow" cells
- Selector:
.yellow
- Selector:
- In the
.yellowruleset, set the background color togold
That's it! Refresh the page and PAC-MAN should appear in the grid.
Final Code
At the end of the activity, the code should look something like this:
index.html
<html>
    <head>
        <link href="style.css" rel="stylesheet" type="text/css">
    </head>
    <body>
        <div id="main">
            <div class="horizontal">
                <div class="cell"></div>
                <div class="cell yellow"></div>
                <div class="cell black"></div>
                <div class="cell yellow"></div>
            </div>
            <div class="horizontal">
                <div class="cell yellow"></div>
                <div class="cell yellow"></div>
                <div class="cell yellow"></div>
                <div class="cell yellow"></div>
            </div>
            <div class="horizontal">
                <div class="cell yellow"></div>
                <div class="cell yellow"></div>
                <div class="cell"></div>
                <div class="cell"></div>
            </div>
            <div class="horizontal">
                <div class="cell"></div>
                <div class="cell yellow"></div>
                <div class="cell yellow"></div>
                <div class="cell yellow"></div>
            </div>
        </div>
    </body>
</html>
style.css
#main {
    width: 400px;
    height: 400px;
    border: 2px solid black;
}

.horizontal {
    display: grid;
    grid-template-columns: 1fr 1fr 1fr 1fr;
}

.cell {
    height: 100px;
}

.black {
    background: black;
}

.yellow {
    background: gold;
}