Code-Along: Mad Libs Redux
Create a webpage that will allow the user to enter some individual words and tell a silly story.
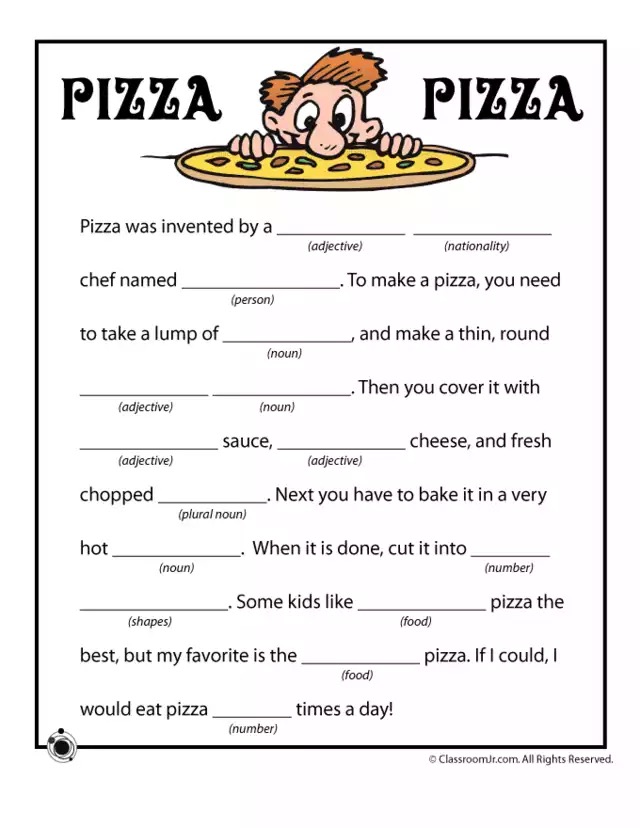
For this activity, start with the first sentence of the text:
Pizza was invented by a ___adjective___ ___nationality___ chef named ___person___.
Part 1 - Basic Setup
Start by copying this empty project, then follow the steps below. Note: this is emptier than usual - sometimes it's good to practice adding the basics!
- Open the index.html file for editing
- Add the basic elements:
<html>,<head>,<body> - Create a new JavaScript file named script.js
- Link the JavaScript file in the HTML file using a
<script>element
Part 2 - Creating the Inputs in HTML
The next step is to create some text boxes in the HTML that will appear on the webpage.
- In the index.html file, create a header for the webpage that says "Pizza Pizza"
- Under that, create a
<p>element containing a text label that says "Adjective" - Within that
<p></p>element, after the text, create an<input />element- Ensure that the
<input />has anidattribute
- Ensure that the
- Create additional
<p>elements containing labels and inputs for "Nationality" and "Person"
At this point, the code in the index.html file should look something like this:
<html>
    <head>
        <script src="script.js"></script>
    </head>
    <body>
        <h1>Pizza Pizza</h1>
        <p>Adjective: <input id="adjective1" /></p>
        <p>Nationality: <input id="nationality1" /></p>
        <p>Person: <input id="person1" /></p>
    </body>
</html>
Part 3 - Defining the Function in JavaScript
The next step is to define a function that will put the story together. At the top of the script.js file, define a function named madLibs:
- Start with the
functionkeyword - Next, add the function name (
madLibs) - After that, add left/right parentheses
- Finally, add left/right curly brackets
The function in the script.js file should look something like this:
function madLibs() {

}
Part 4 - Getting the Values from Inputs
Now it's time to look at what the user has entered into the text boxes, and pull the values into JavaScript!
In the body of the madLibs function (between { and }):
- Store the "Adjective"
<input />element in a variable- Create a new variable with
let adjective1Element = - Set it equal to
document.querySelector() - Add quotes (
"") within the parentheses - Within the quotes, add the selector for the first input (
#adjective1)
- Create a new variable with
- Get the text from the input element
- Create another new variable w with
let adjective1Value = - Set it equal to the element
adjective1Element... - But get its value with
.value
- Create another new variable w with
- Repeat the above steps for each of the remaining two inputs
After these steps, the code in the body of the madLibs function (within script.js) should look something like this:
let adjective1Element = document.querySelector("#adjective1");
let adjective1Value = adjective1Element.value;

let nationality1Element = document.querySelector("#nationality1");
let nationality1Value = nationality1Element.value;

let person1Element = document.querySelector("#person1");
let person1Value = person1Element.value;
Part 5 - Building the Story
Now that all of the inputs have been filled, the story can be completed! It should use the variables in place of the blanks for the first sentence of the Mad Libs pizza text.
- Create a new variable named
storycontaining the full first sentence:Pizza was invented by a ___adjective___ ___nationality___ chef named ___person___.- Make sure to use backticks to make it a template literal!
- Replace the blanks in the story with the value variables containing the text from the inputs
- Note: these should not be the element variables that hold the entire HTML elements
- At the bottom of the function body, use an
alertto display the story!
The additional code at the bottom of the madLibs function (in script.js) should look something like this:
let story = `Pizza was invented by a ${adjective1Value} ${nationality1Value} chef named ${person1Value}.`;
alert(story);
Part 6 - Hooking Up a Button
All that's left is to create a button to call the function!
- Open the index.html file for editing
- Under the last
<p></p>in the<body></body>, add another<p></p> - Within the
<p></p>, create a<button></button> - Set the button text to say "Generate Mad Libs!"
- Set the
onclickattribute of the button to call themadLibsfunction
The added button in the index.html file should look something like this:
<p><button onclick="madLibs()">Generate Mad Libs!</button></p>
Load up the page, enter some values in the text boxes, and click the button! The story should display with the words properly replaced 😊
Final Code
At the end of the activity, the code should look something like this:
index.html
<html>
    <head>
        <script src="script.js"></script>
    </head>
    <body>
        <h1>Pizza Pizza</h1>
        <p>Adjective: <input id="adjective1" /></p>
        <p>Nationality: <input id="nationality1" /></p>
        <p>Person: <input id="person1" /></p>
        <p><button onclick="madLibs()">Generate Mad Libs!</button></p>
    </body>
</html>
script.js
function madLibs() {
    let adjective1Element = document.querySelector("#adjective1");
    let adjective1Value = adjective1Element.value;

    let nationality1Element = document.querySelector("#nationality1");
    let nationality1Value = nationality1Element.value;

    let person1Element = document.querySelector("#person1");
    let person1Value = person1Element.value;

    let story = `Pizza was invented by a ${adjective1Value} ${nationality1Value} chef named ${person1Value}.`;
    alert(story);
}